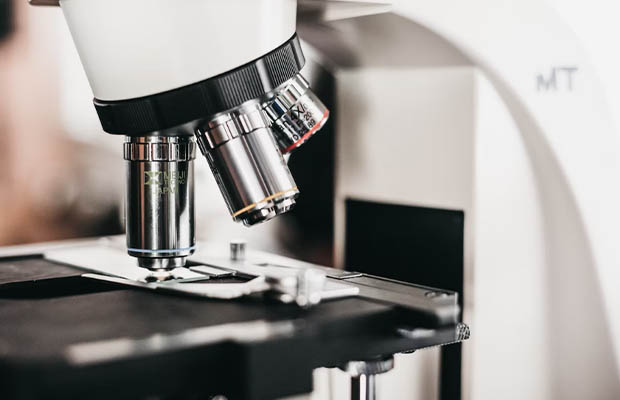
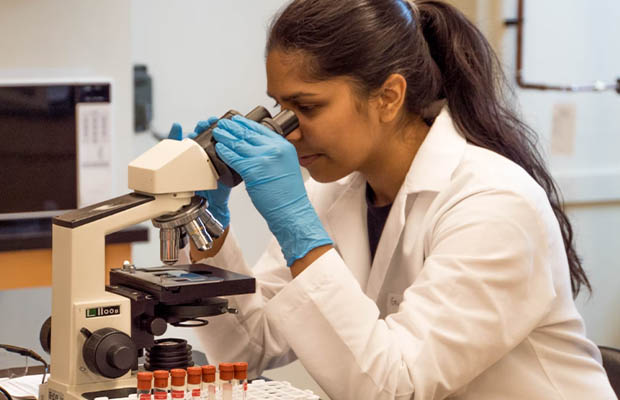
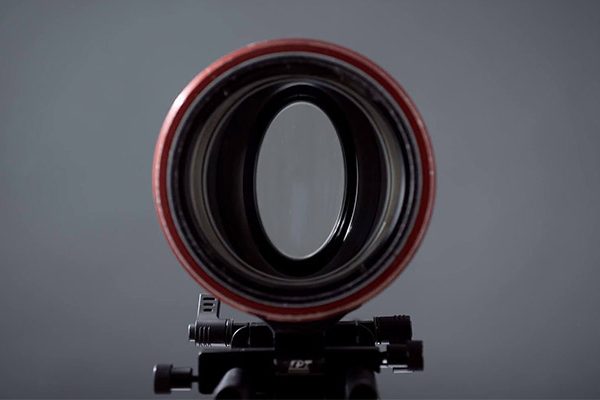
Smudged lenses can significantly obstruct vision and even lead one to believe they are seeing something they are not. The process of cleaning a microscope lens is, however, really quite simple. If you properly maintain it after each use as opposed to allowing it to become obviously grimy and dirty, it’s especially hassle-free.
Use your microscope carefully and keep it covered when not in use for the best chance of avoiding having to clean the microscope lenses. Here’s what to do if a lens gets soiled or caked with gunk.
We’ll go over a few easy steps to cleaning your microscope lenses down below. For detailed instructions, always refer to the lens manufacturer’s guidelines.
Related Reading: How to Clean Glasses Between the Lenses and Frames?
Table of Contents
How To Clean Microscope Lens?
Locate The Dirt
Whether it is on the objective lens or the eyepiece lens is unclear. In the microscope, if you notice a spot that appears at all magnifications, it is most likely on the eyepiece lens’s exterior. Turn your eyepiece lens if it rotates to see if the spot also moves. If so, the dirt is on the eyepiece lens; otherwise, the dirt is likely internal, in which case you should probably have it cleaned by a pro. The dust is probably on that specific objective lens if you can only see it at one power.
Blow Off The Residue
Use a squeeze bulb or a lens cleaner bulb for cameras that have a camel hair brush on the end. The compressed air cans that are occasionally used to clean computer keyboards can be used if you require more air. Useless to combine any sprays with cleaners. When the lens is thoroughly cleaned, give it a quick wipe with Kimwipes or another reputable lens cloth.
Kodak Lens Tissue, which is another excellent cleaning tissue and is available at photo stores, can be used in place of a brush. The tissue should be rolled into a tube before being torn in half, keeping the feathery torn ends together. As a one-time brush, use it. For very dirty lenses, use multiple. Regular lens brushes can harbor grit and result in scratching. You will need to use a solvent if the grime is still present.
Microscope Lens Cleaner
To dissolve the gunk when using solvents, place a drop or two of the paper on the lens and hold it there for a few seconds. Then gently wipe it free. The first recommended solvent is distilled water. Try alcohol if that doesn’t work. Isopropyl alcohol is among the best solvents, but it needs to be at least 90%+ pure (don’t use rubbing alcohol, which contains 30% water). Grain alcohol Everclear (you must be 21!) can also be used but it doesn’t do as well in dissolving crud. Use a stronger solvent, such as Acetone or Xylene, if you have something like balsam stuck on the lens.
Acetone should never be applied to plastic components because it dissolves the majority of paints and plastics. The Microscope Cleaning Kit’s lens cleaning solution, for example, is effective at cleaning lenses. ROR is a remedy that some people fervently support, but we have never used it. Use a tiny amount of the solvent when adding it, and always apply it to the Kim wipe from the bottom up toward the lens. This will prevent the liquid from entering the lens from the bottom. If at all possible, avoid taking the instrument’s lenses out.
Immersion Oil
Simply wipe the excess immersion oil off the lens with a Kim wipe after using a 100x objective if you’re using one. You must use an oil-soluble solvent to completely remove the oil from the lightly oiled surface because occasionally dust may begin to accumulate there. You can substitute naptha, xylene, or turpentine (in very small amounts on the Kim wipe) for the Cargille Type A or B immersion oil that we sell. Because the oil is insoluble in these solvents, do not use water, alcohol, or acetone. We advise making a solution of 1 part Wisk to 100 parts water to remove other oily materials.

Things To Avoid When Cleaning Microscope Lens
There are a lot of incorrect ways to clean a microscope, such as the following:
Acetone: This solvent can damage lenses and dissolve plastic and paint.
Tap water: As there are minerals that could leave stains or marks after the water evaporates, you’re probably doing more harm than good.
Paper towels, and tissue paper: Both can scratch delicate lenses because they are too abrasive.
Steps To Clean Microscope Optical Components
- Use a loupe to check for dust on the lens surface first. Use your eyepiece and hold it up to the lens surface to magnify any dust or dirt if a loupe is not readily available.
- After inspection, use a blower to remove any debris that has accumulated on the surface.
- In order to make a point, take a piece of lens paper and fold it around your finger. Use lens paper for this step rather than facial tissues, lab tissues, or paper towels, as they are not as effective. Consumer tissues contain loose, rough fibers that can scratch the surface of the lens or break off and stay on the lens. By folding the tissue into a triangle, you can make a fine point for optics with a smaller surface area.
- On the tip of the lens paper, dab a tiny amount of cleaning solution or fluid for lenses. Because it can clean and disinfect the surface in an efficient and secure manner, we advise using 70% ethanol.
- Use a circular motion to wipe the lens surface as follows: This method might not be large enough to wipe larger surfaces, like a glass plate. Simply place the lens paper on the surface, slowly rotate it, and only touch the edges in this instance. Hold a piece of lens paper between your middle and index fingers, then fold it and wrap it around your index finger to clean the surfaces of the condenser and the light exit glass. While cleaning the lens surfaces, keep the tissue firmly in place with your thumb. Each lens paper should always be thrown away after being used once when cleaning your optical components.
- Using an eyepiece or loupe, check the lens to make sure it’s clean for any lingering dust or residue. It’s a sign that there are still dirt and dust specks on the lens if the color reflected from it appears uneven. If so, repeat the cleaning procedure until the lens is free of impurities.
- Reattach the cleaned component to your microscope as soon as you are certain that your optical accessory is clean to maintain the integrity of the system.
Always Use A Microscope Cover To Keep Clean
Keeping your microscope covered is the first and easiest step in maintaining a clean microscope. A cover is typically included with microscopes. It’s simple and reasonably priced to locate and order a replacement if yours has been lost or damaged. Although microscope covers can’t stop you from inadvertently leaving fingerprints on the glass, they can stop dust accumulation. Even a tiny amount of dust, which is invisible to the unaided eye, can sometimes seriously obstruct your ability to see the specimen. In crowded labs where there is a high likelihood of spilling sticky or harmful substances on equipment, microscope covers are especially crucial.


